Unraid 002 - How to autostart your encrypted unraid array
Save time starting unraid and make remote start easier

How to autostart your encrypted unraid array
I will eventually come back and make sure these posts are in the correct order but for now they will be close. This goal of these posts is more for me to document my process along the way so I can easily recreate it in the future if need be and to try to help others along the way. As a secondary goal I want to stream line the documentation of doing this as it has taken me quite a bit of time to combine all the pieces of necessary information and I find reading a step by step document much easier than watching youtube videos.
Real quick why would you want to auto mount your encrypted array? Well there may be times you can’t manually login and auth yourself and this also prevents you from auto starting any of your VM’s, additionally its just a pain to have to manually do this on every reboot. Pulling in your keyfile from an outside source maintains reasonable security of your machine because if your machine were to ever be stolen all you would have to do would be to login to your google drive and delete your keyfile to keep the offending party from being able to boot your machine and retrieve your data. With that said lets get started…
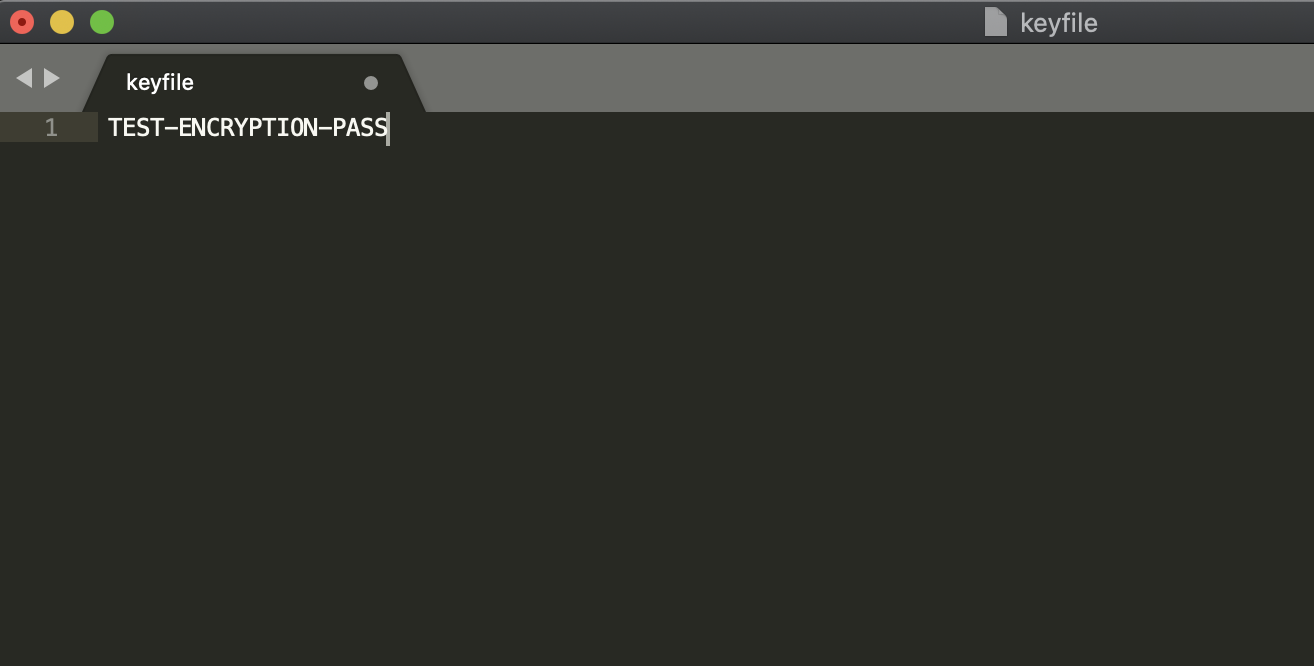
To start create a simple text file on your local machine named keyfile (with no extensions) and insert your passphrase, save. It is highly suggested that you do this using either SublimeText or Notepad++ as it is very important there are no empty spaces, tabs, or new lines in the file. It should look similar to the image to the left (see how there is only a single line? ie 1).
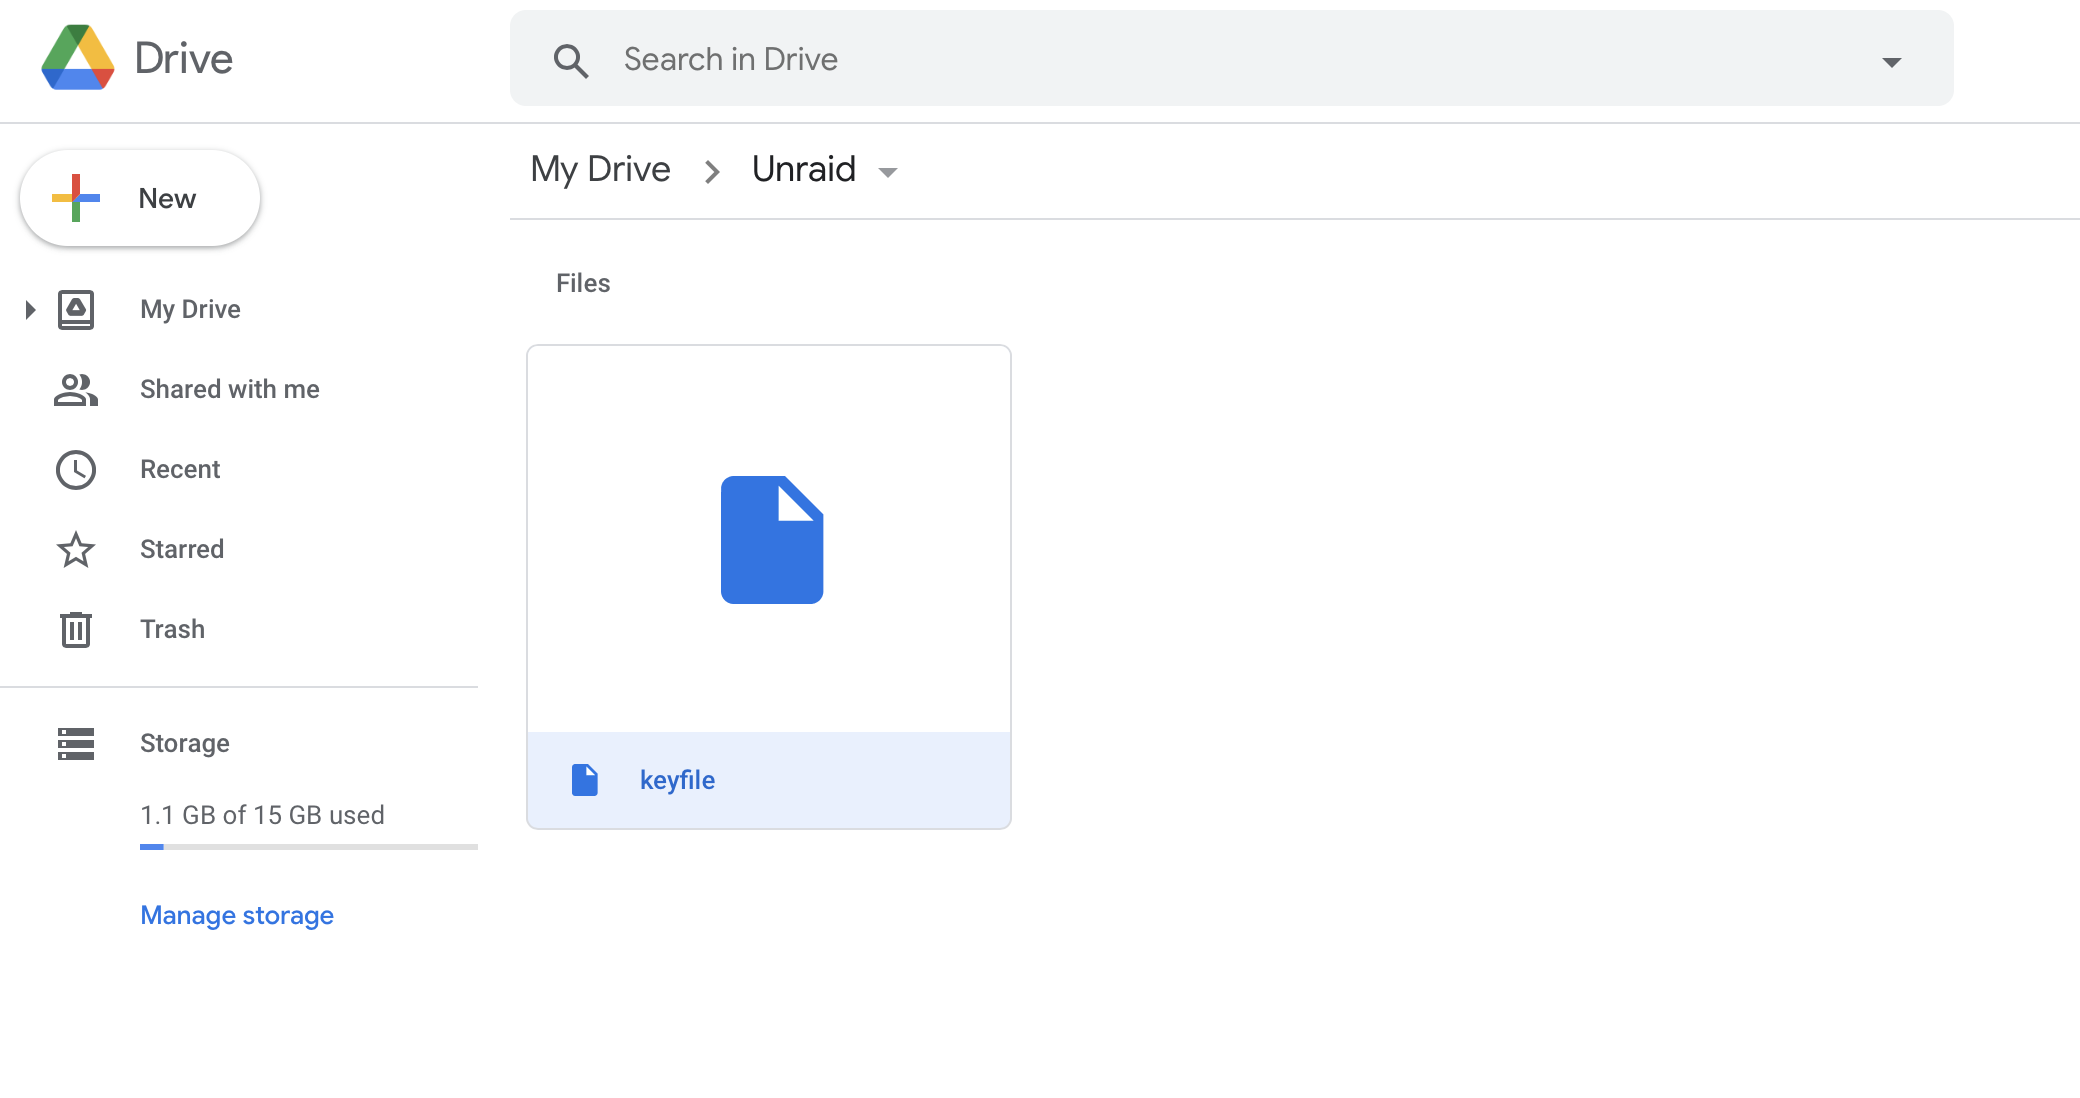
Once your keyfile is created then upload it your google drive (I suggest putting it in is own folder so its easy to keep track of)
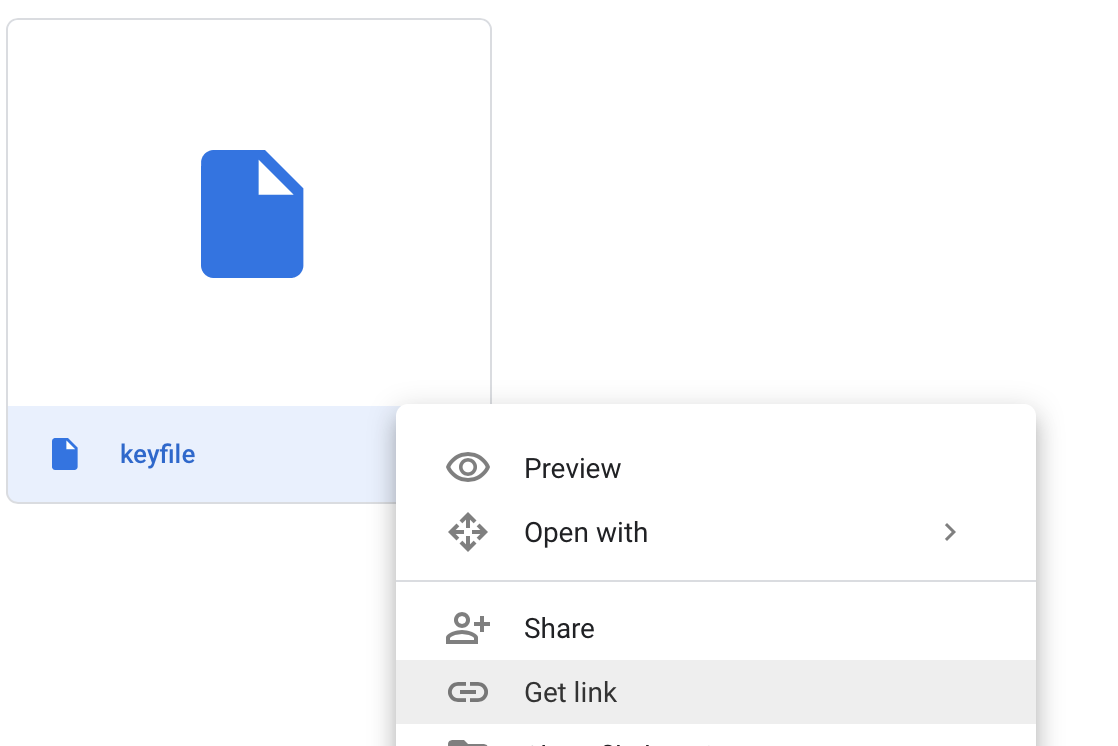
Then select Get link
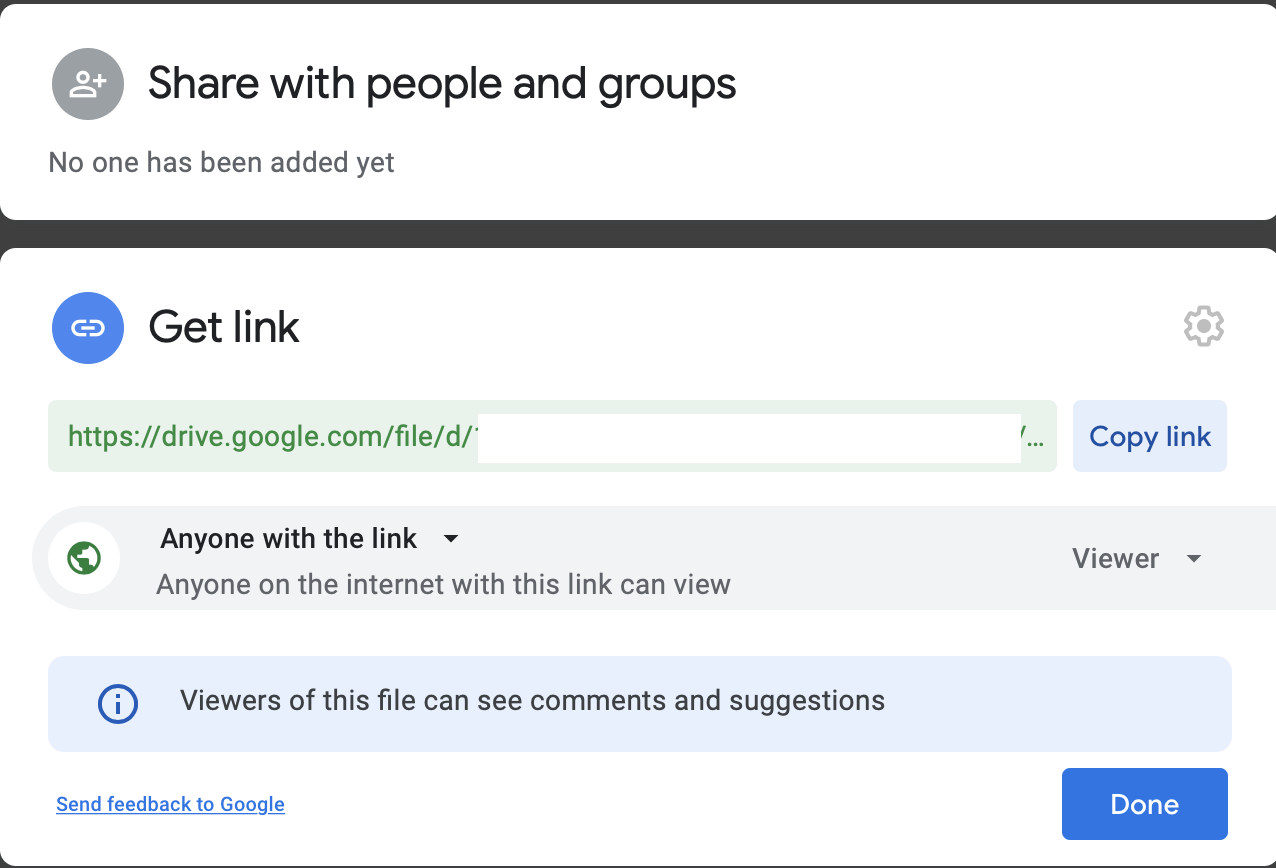
And from the link page make sure you change the setting from “Restricted” to “Anyone with the link”
Now from here you just need to grab your file id (grayed out above), it should be between the /d/ and /view... in the shared url. At this point you are done with creating your keyfile.

Now from your Unraid page open terminal

From terminal type the following command ie vi /boot/config/go
Once vi is open press i to INSERT into your file and add the following to your go file wget 'https://docs.google.com/uc?export=download&id=YOUR-FILE-ID-HERE' -O /root/keyfile. After having added the wget line press the escape key to get out of insert mode then press :wq to write your file and quite back to terminal.
Note: You may also use this command wget --no-check-certificate 'https://docs.google.com/uc?export=download&id=YOUR-FILE-ID-HERE' -O /root/keyfile as suggested here personally I have not found any difference between the two.
Second Note: I’m not certain what version of vi Unraid has installed but its oldschool, if you need to delete navigate your cursor over the character to delete and press x. For more details on ancient vi look here.

At this point all the command line work is done now go back to your unraid in the browser and click Settings followed by Disk Settings.
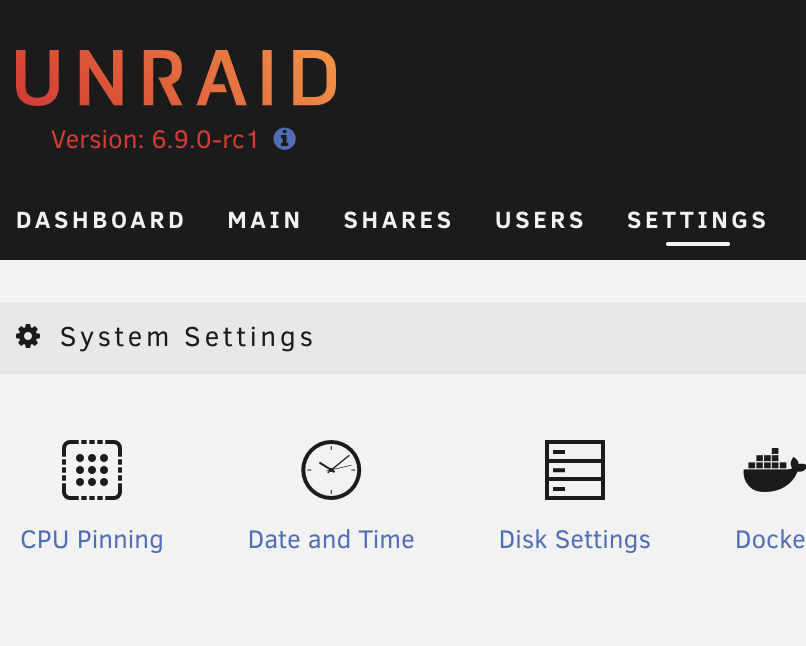
Once in Disk Settings set Enable auto start to yes and click apply.
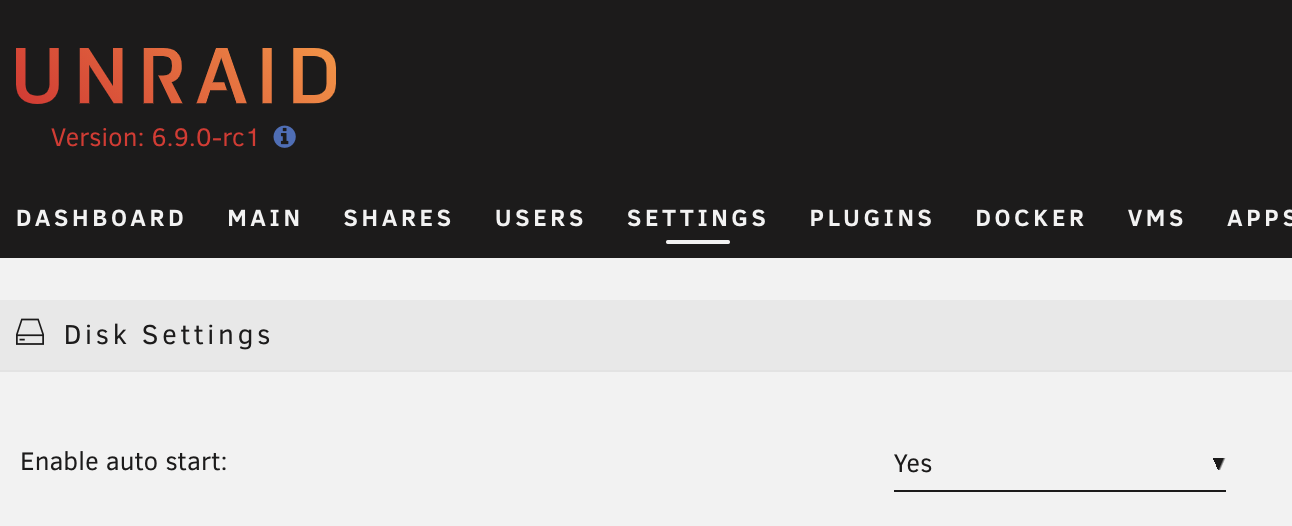
Now reboot unraid and it should auto authenticat your encrypted array and mount your disks automatically.
Finally a shout out to the excellent tutorials by Space Invader One for his excelent tutorials where much of this information is derived from https://www.youtube.com/watch?v=TSlHEBR1yfY